Before you start
Make sure you're logged in to your YHP portal. You'll need the property address and any details you want to display — photos, price, description, and so on.
The 9-step process
Adding a listing walks you through 9 steps: Property Type, Compliance, Location, Details, Highlights, Description, Availability, Photos, and Review. It takes about 5 minutes.
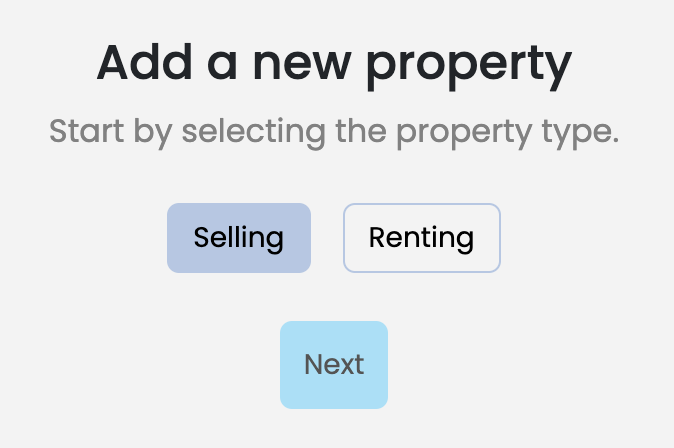
Step 1: Property type
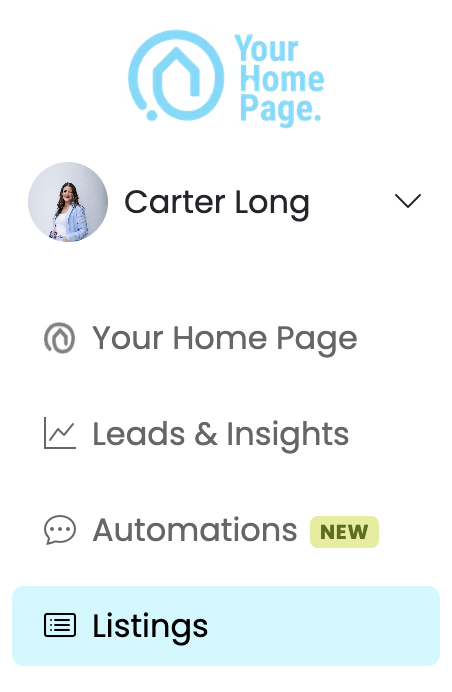
- From your YHP portal, click Listings in the left sidebar.
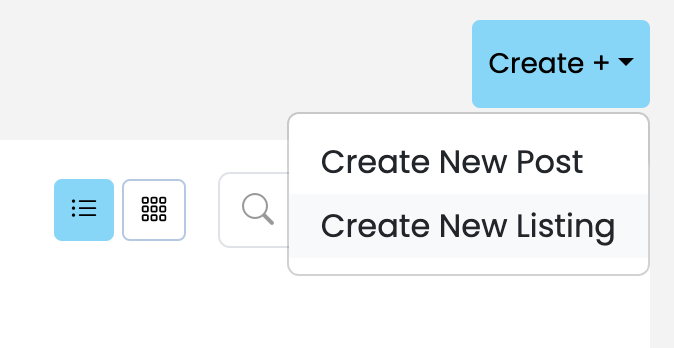
- Click Create in the top right corner, then select Create New Listing.
- Select your property type: Selling or Renting.
- Click Next.
Step 2: Compliance
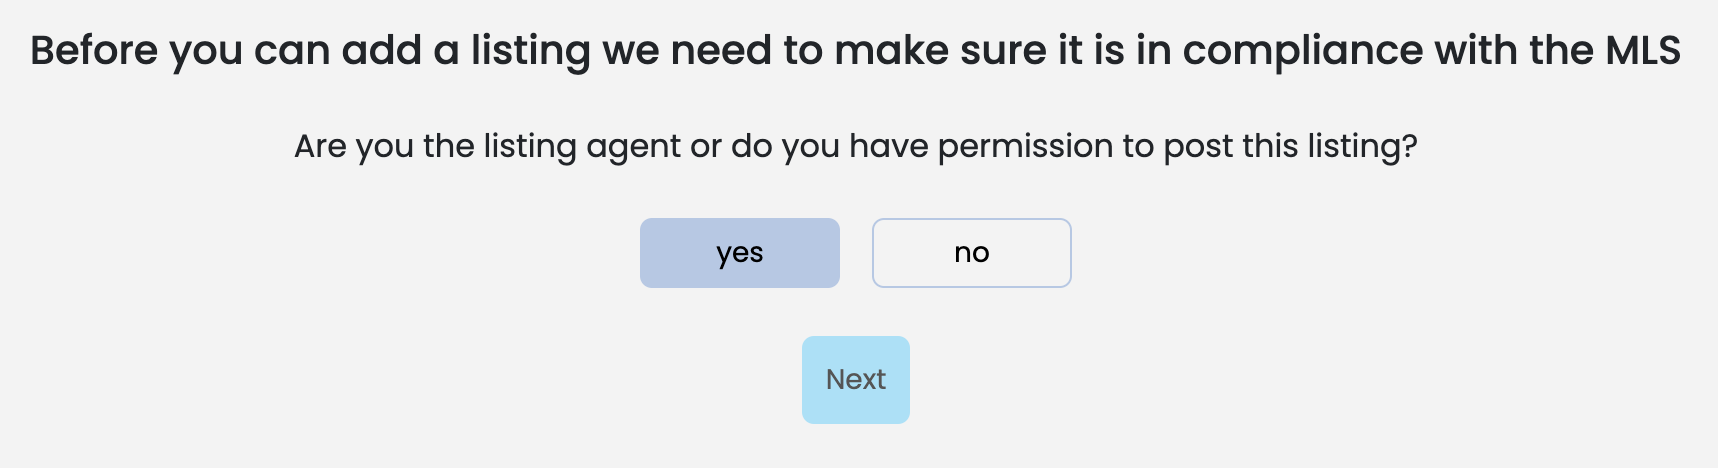
YHP verifies MLS compliance before adding any listing.
- You'll be asked: "Are you the listing agent or do you have permission to post this listing?"
- Select Yes to continue. Selecting No will stop the process here.
- Click Next.
Step 3: Location
- Type the property address in the search field.
- Fill in Street Number, Street Name, City, State, and Zip code.
- Click Next.
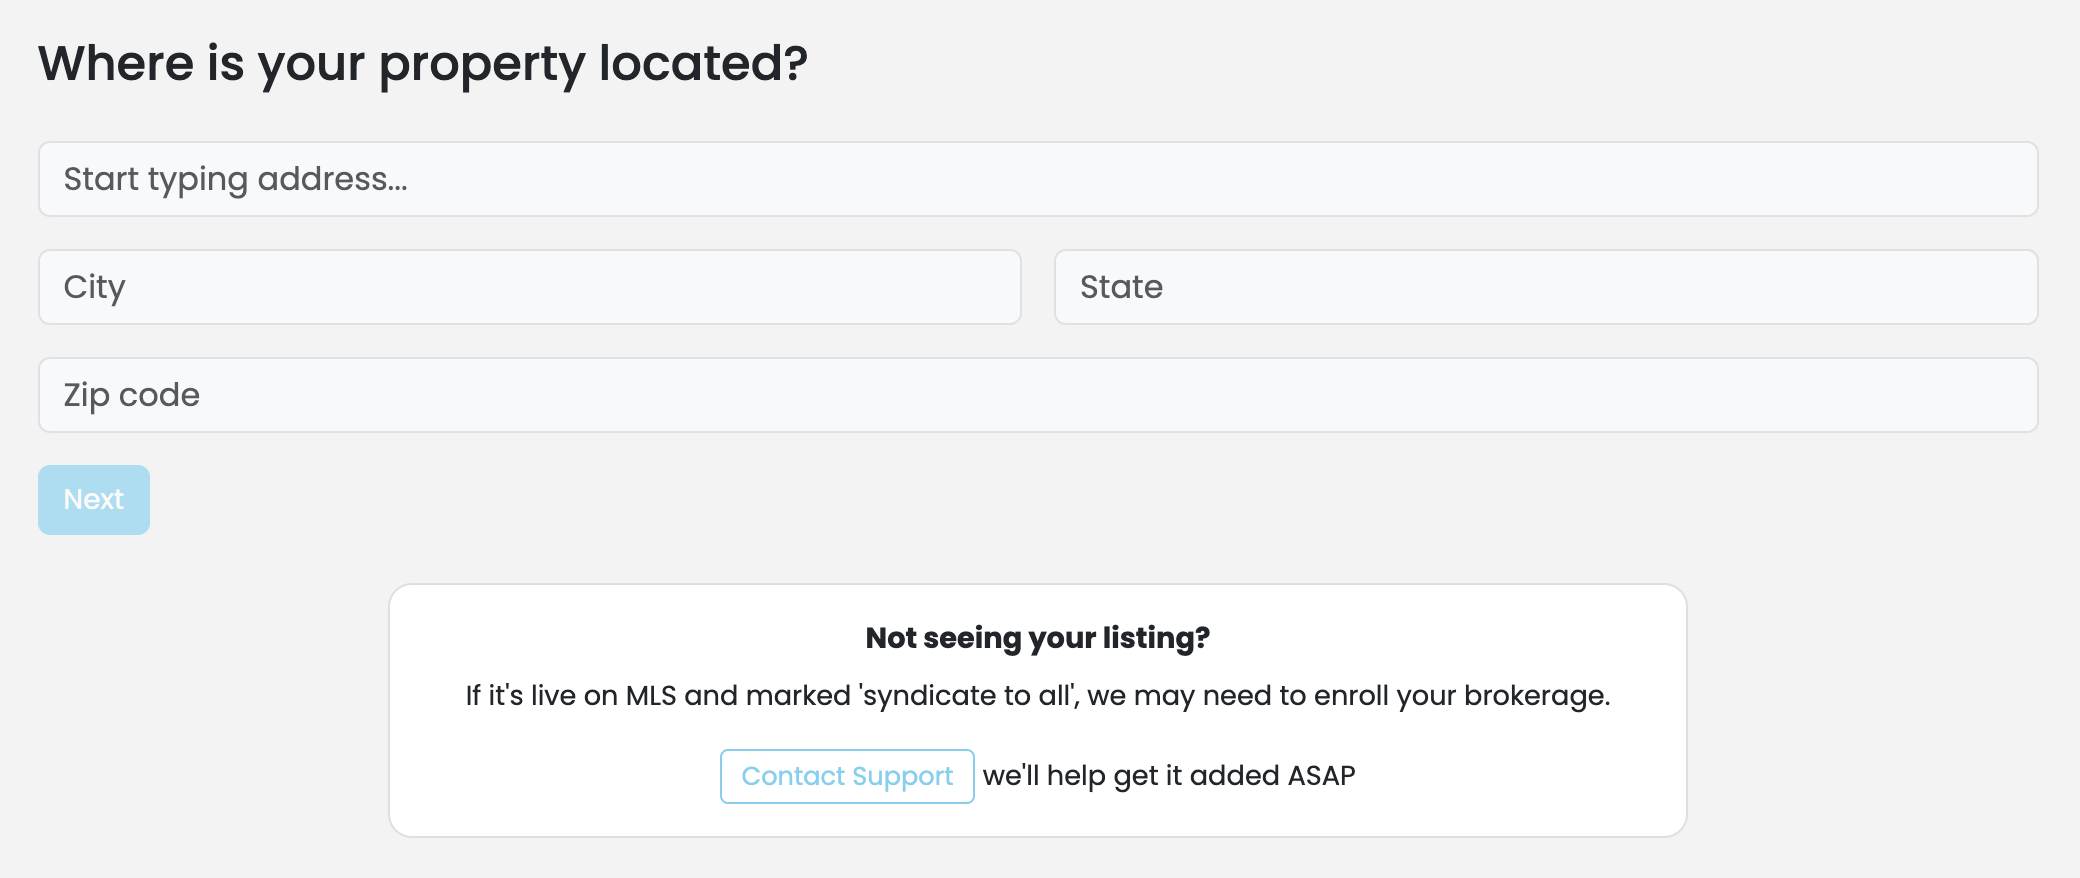
You don't need to manually add listings that are already live on the MLS — YHP pulls them in automatically. Not seeing yours? If it's marked "syndicate to all," your brokerage may need to be enrolled. Click Contact Support on this screen to get help.
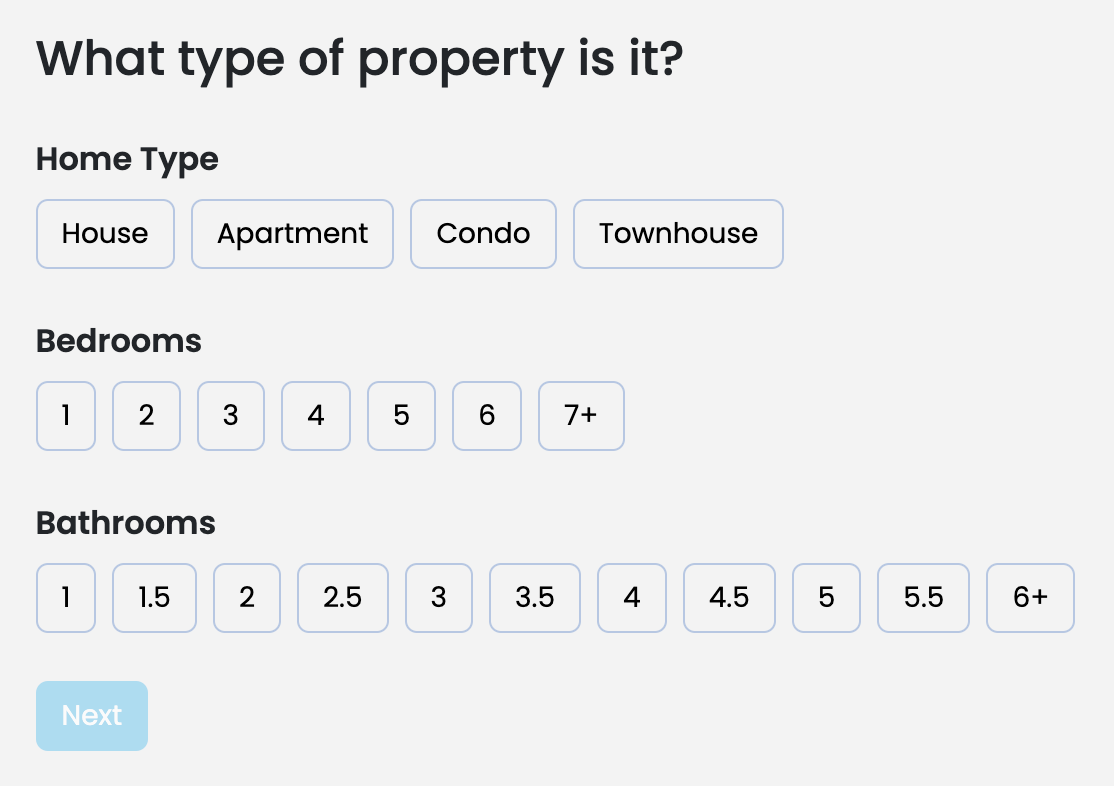
Step 4: Details
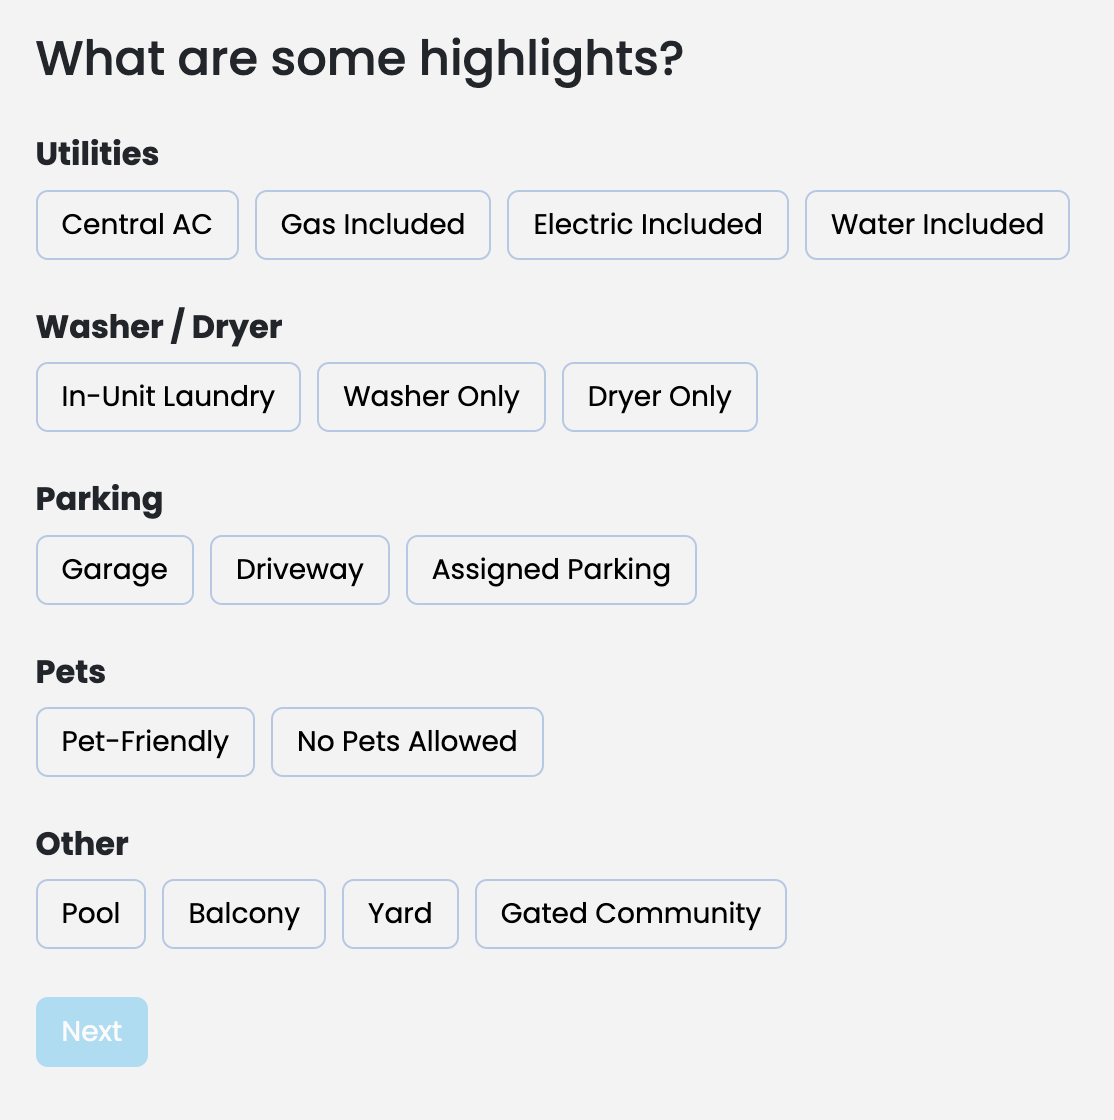
Step 5: Highlights
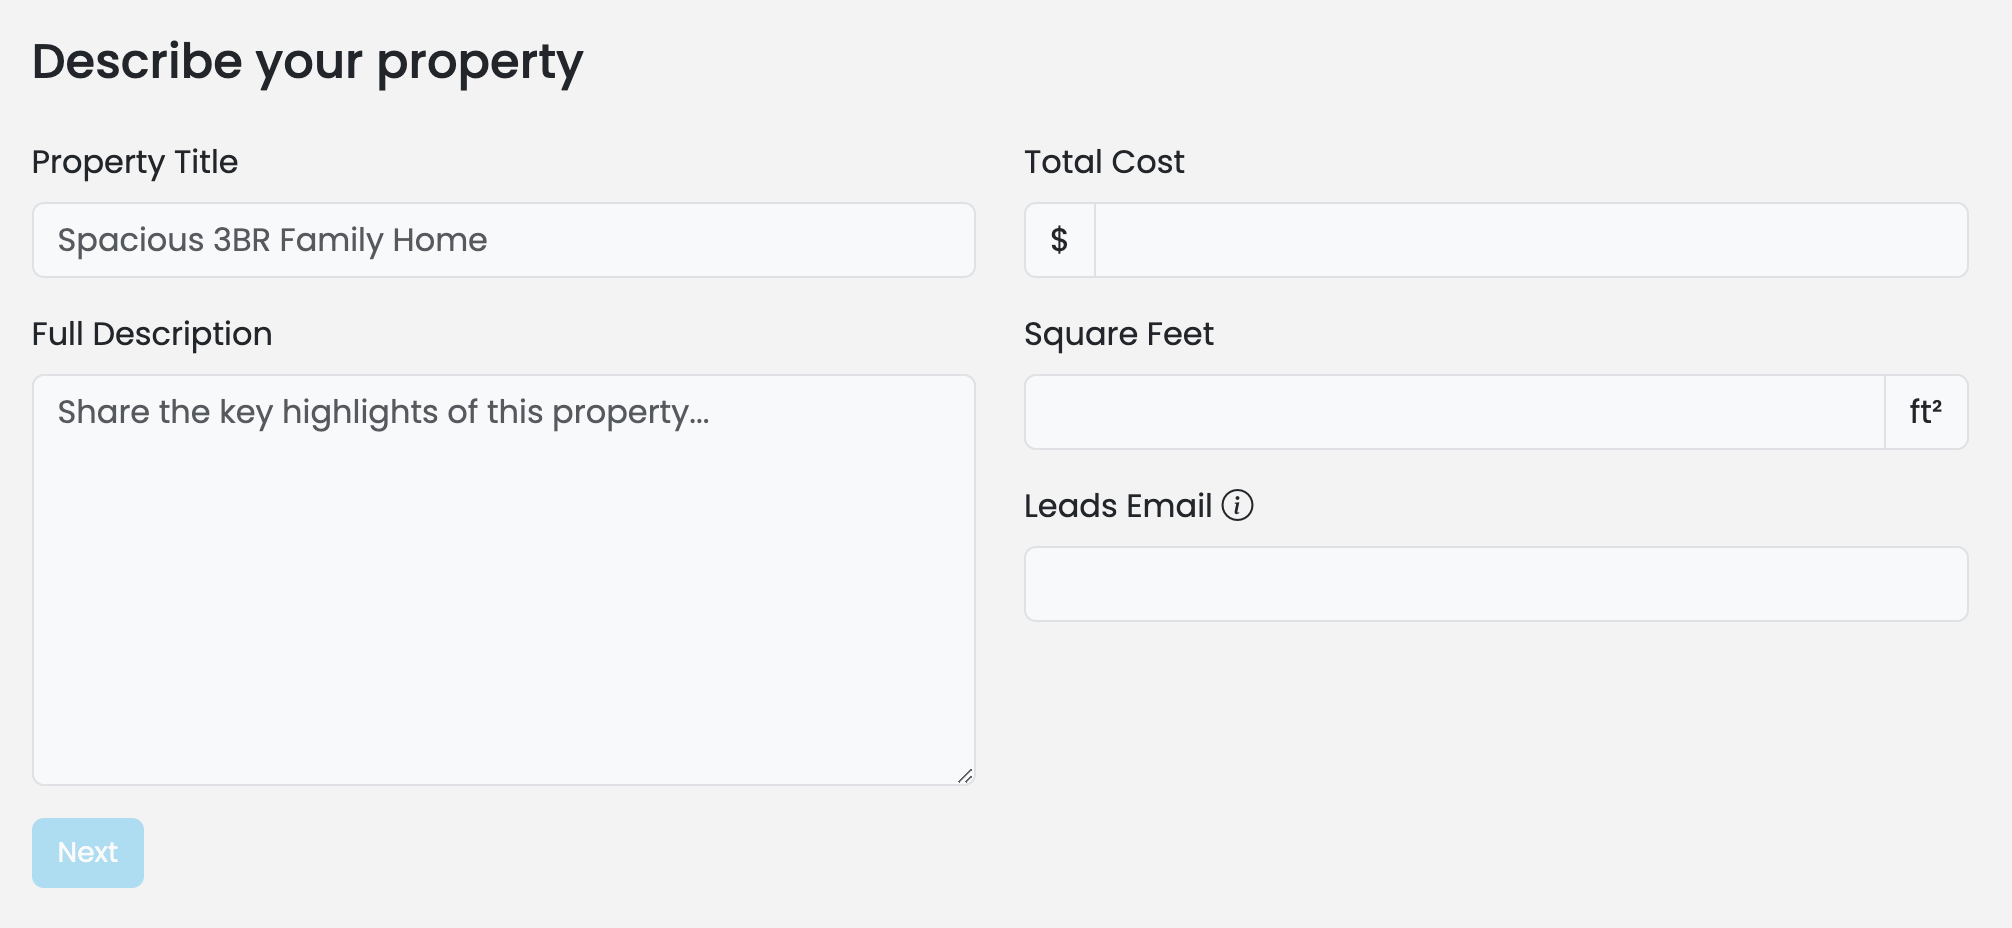
Step 6: Description
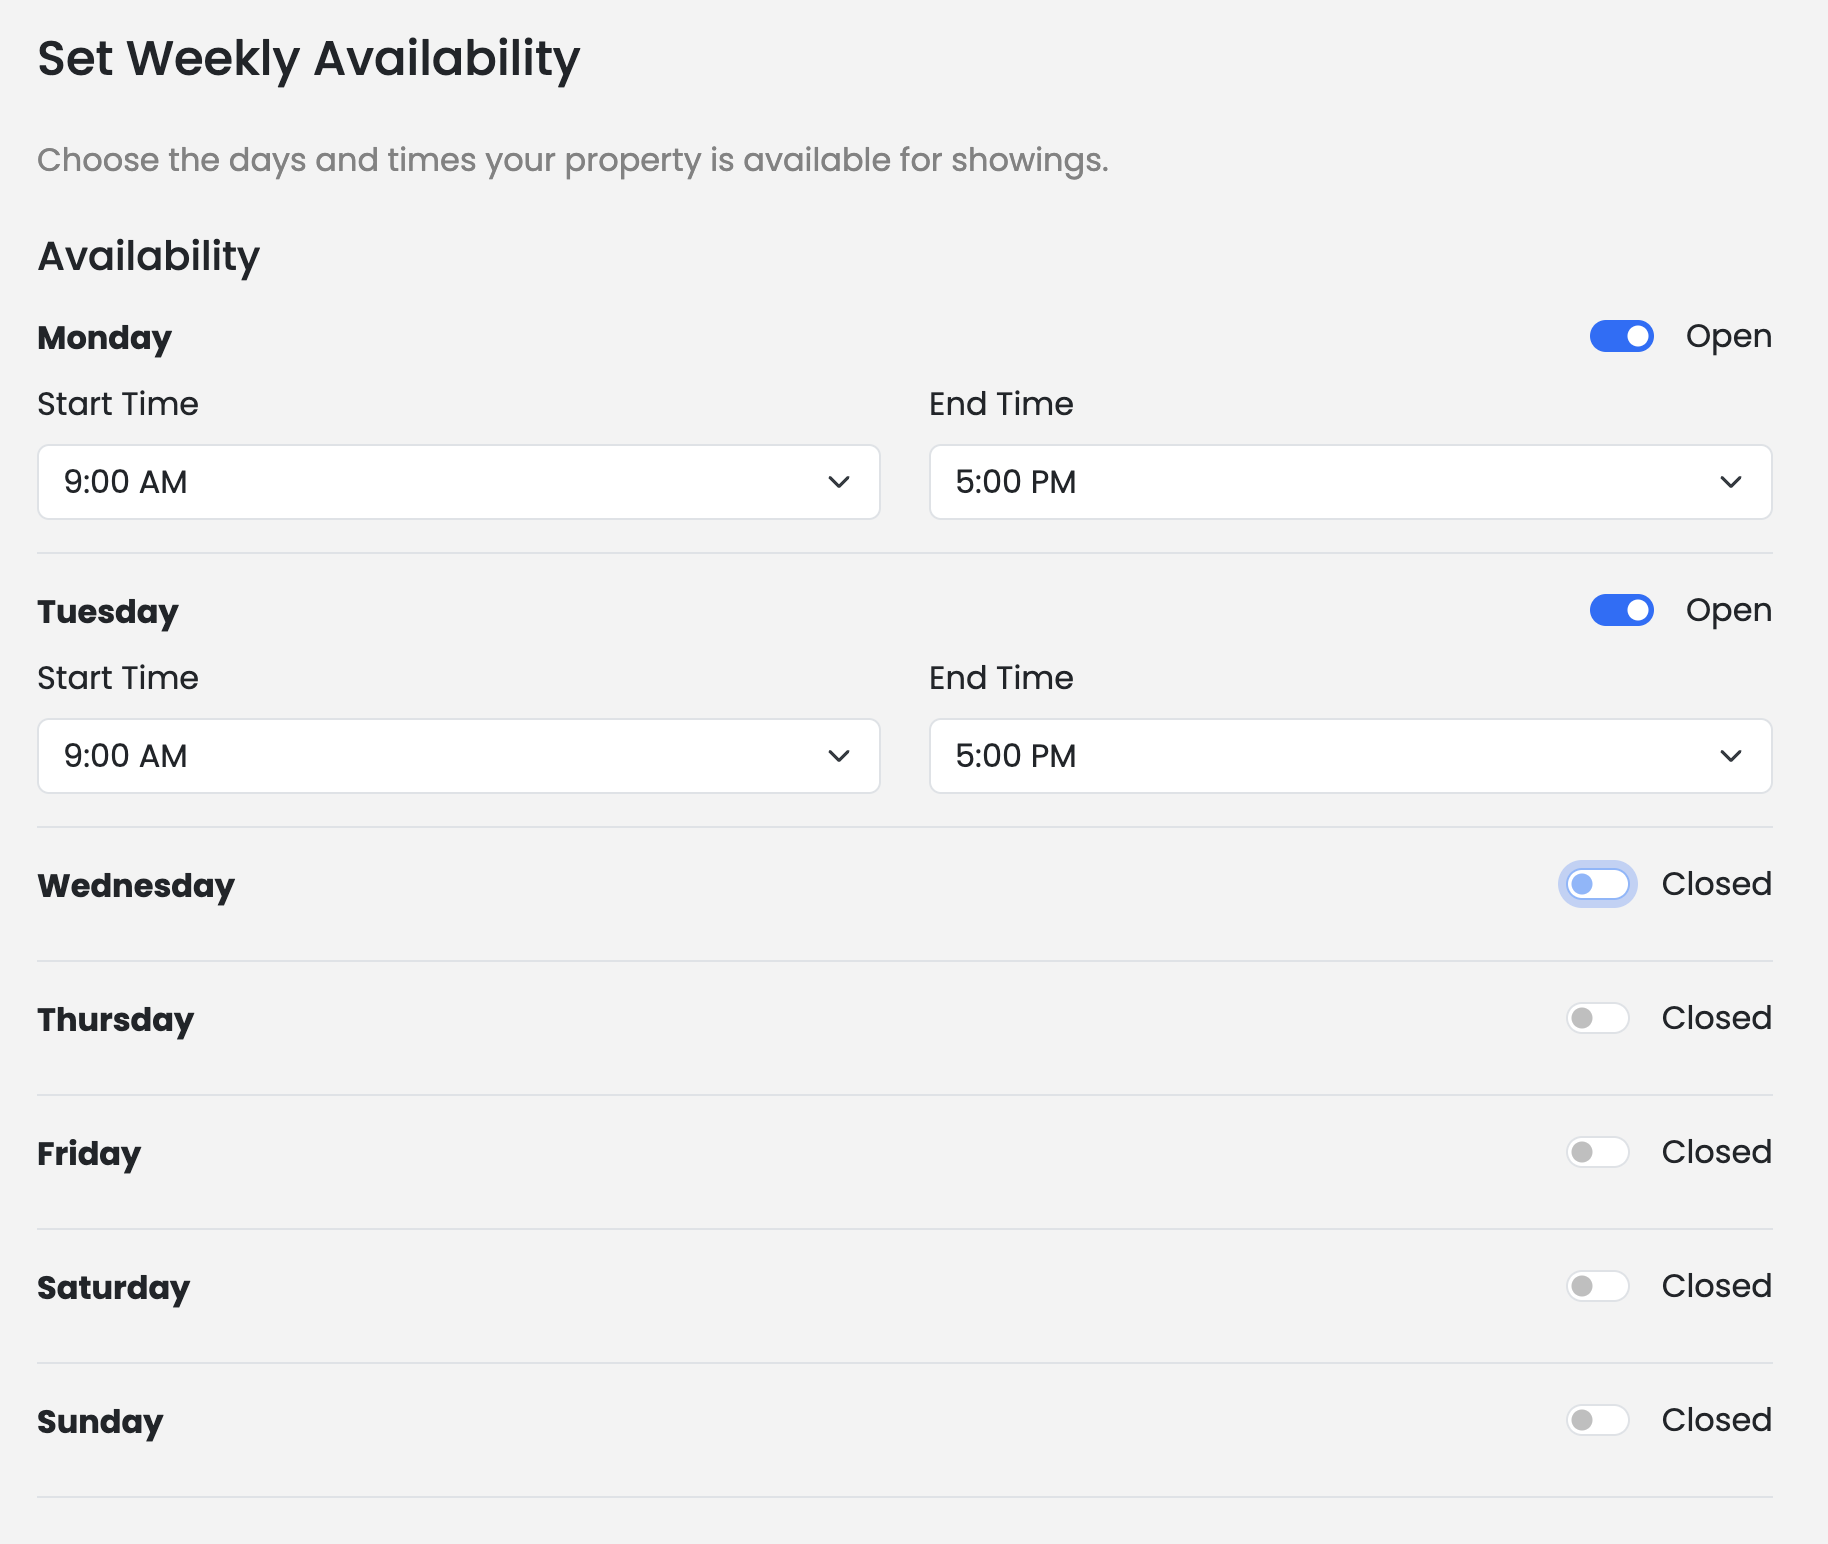
Step 7: Availability
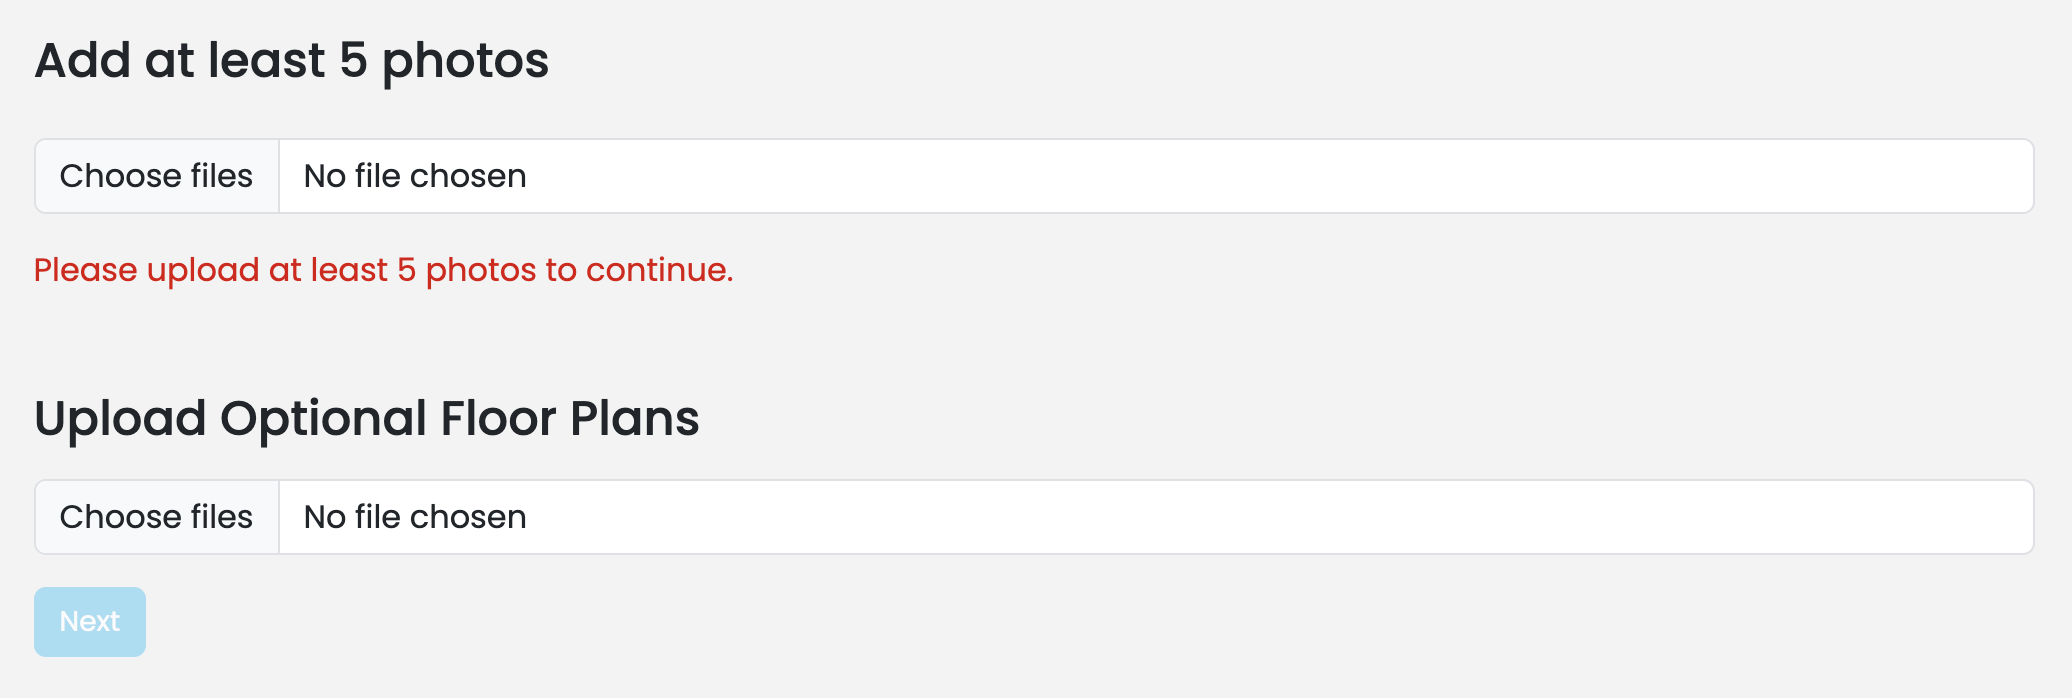
Step 8: Photos
Step 9: Review
Editing or removing a listing
To edit a listing, go to Listings, find the property, and click the three dots on the far left, then select Edit.
To delete a listing, click the three dots, select Edit, scroll to the bottom of the page, and click Delete Listing.

Tips
Add high-quality photos. Listings with high-quality photos get significantly more clicks.
- Keep your listing status up to date.
- Check that your listing isn't already in the MLS before adding it manually — duplicates create confusion for leads.