How it works
When someone comments a keyword on your post, the automation sends them a DM with exactly what they asked for — instantly, without you touching anything.
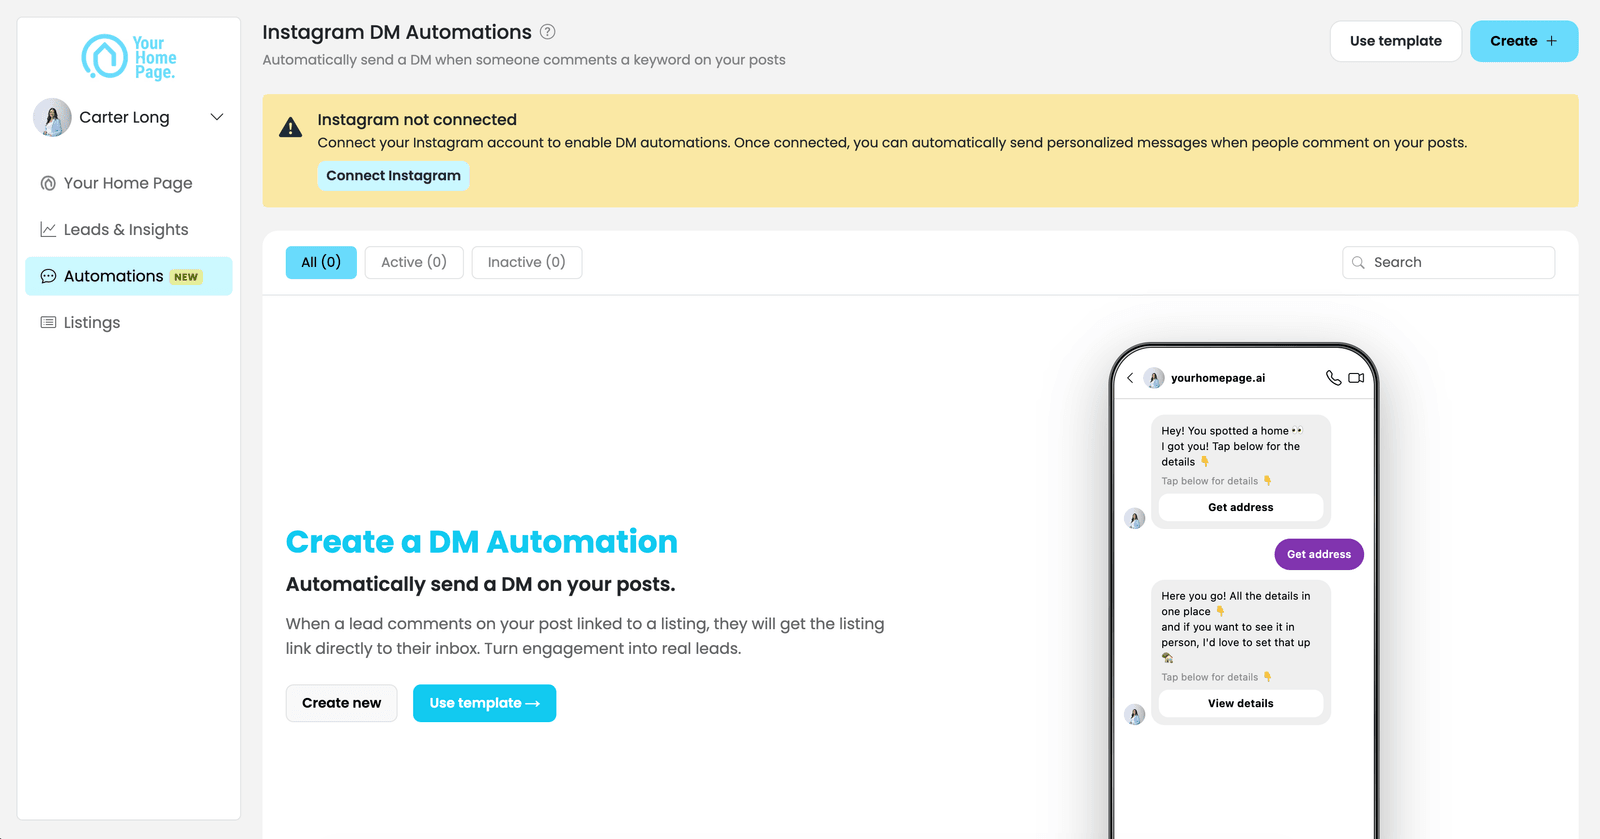
Create an automation
From your YHP dashboard, go to DM Automations in the left sidebar, then click + Create.
The setup walks you through 3 steps: Keyword, Message, and Follow-Up.
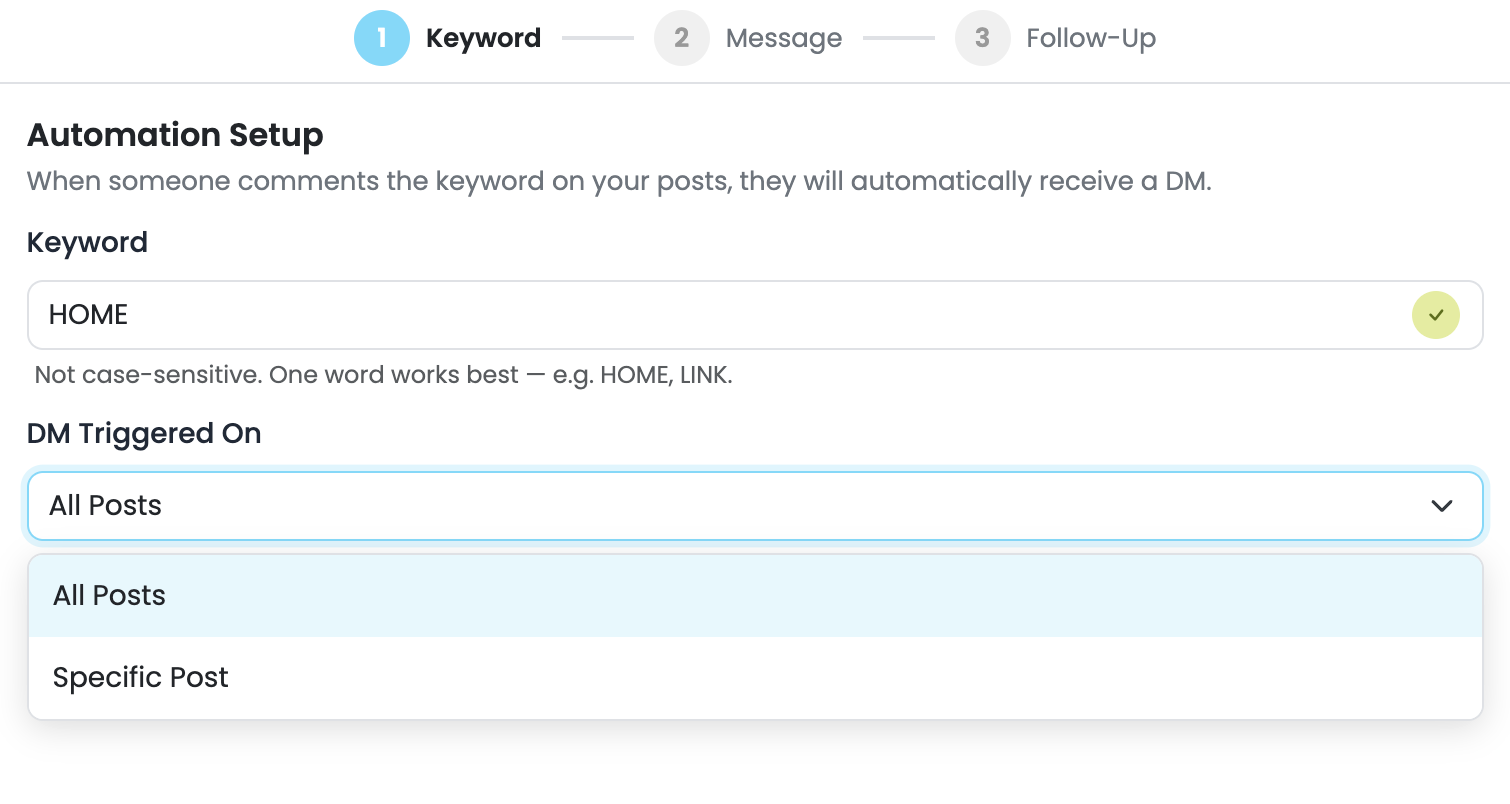
Step 1: Keyword
This is where you set what word triggers the automation and which posts it applies to.
- Enter your keyword in the Keyword field. Each automation uses one keyword — keep it short and easy to type. Common ones:
HOME,TOUR,LINK,INFO. - Under DM Triggered On, choose where the keyword works:
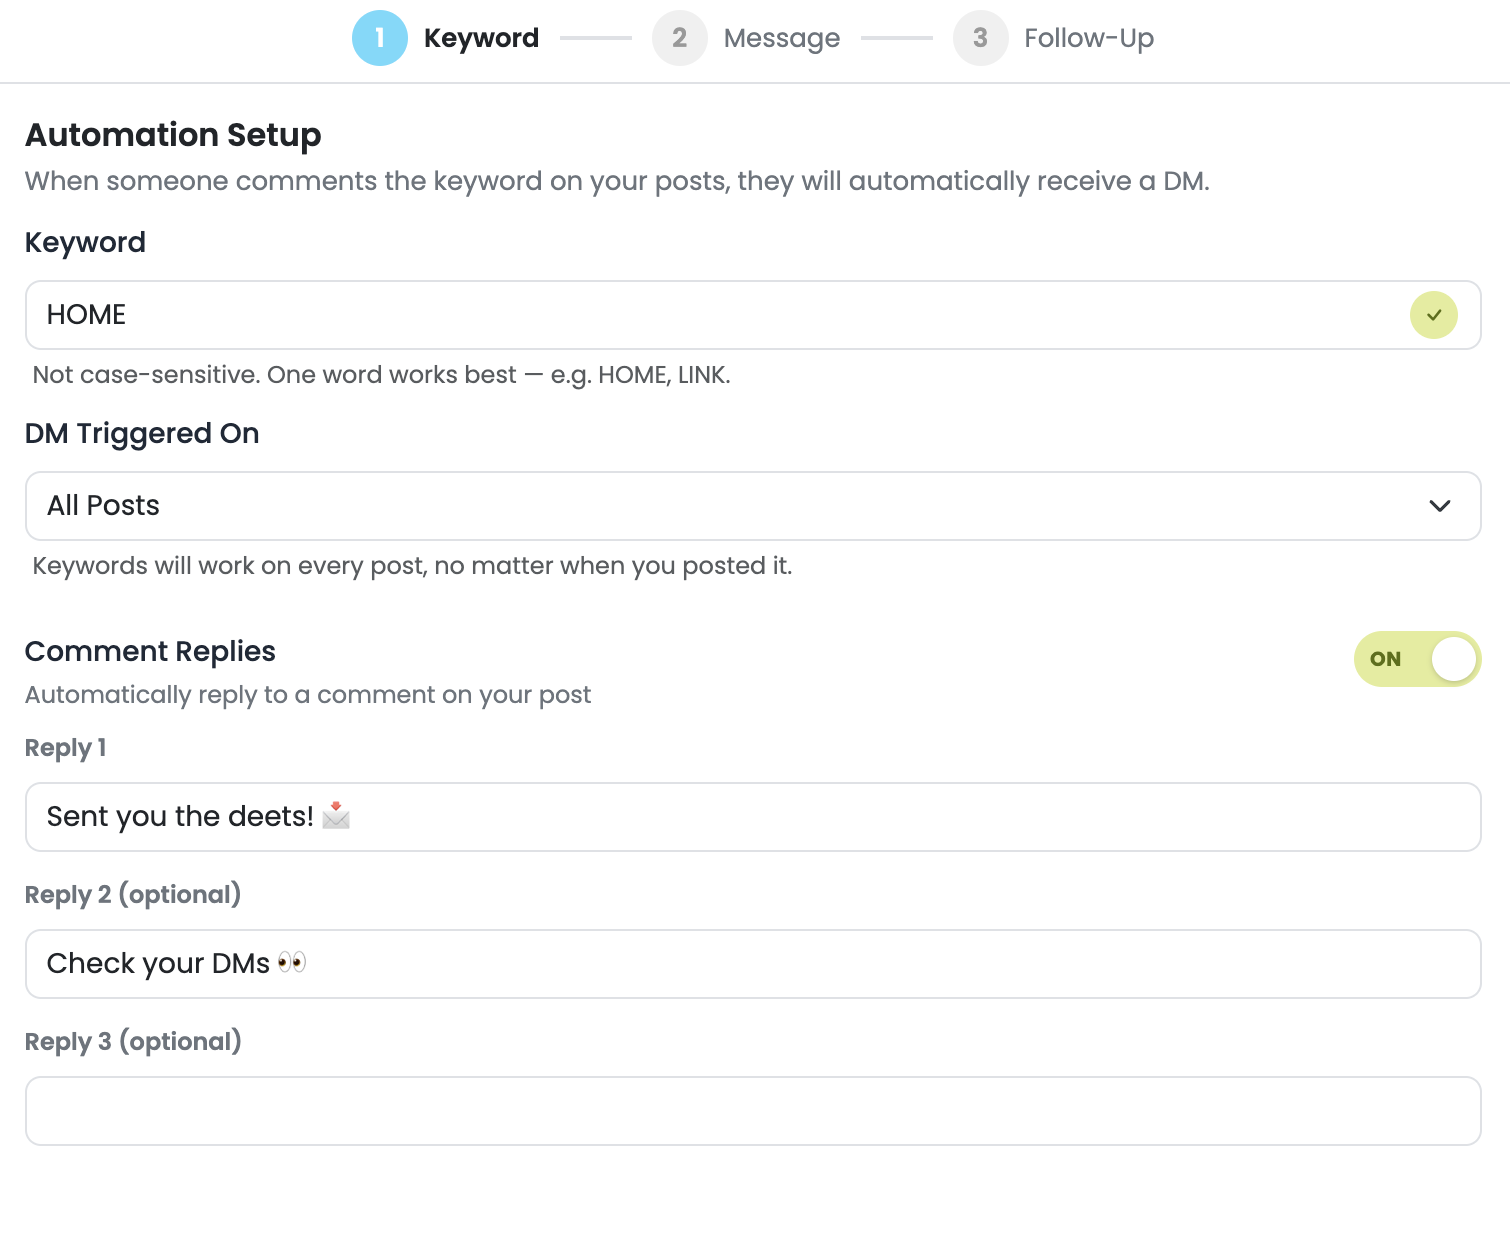
- All Posts — the keyword works on every post you've connected to a listing in YHP. When someone comments, they get the listing linked to that specific post. One automation covers all your listings at once.
- Specific Post — the keyword only works on one selected post connected to a listing.
- Under Comment Replies, toggle on if you want to publicly reply to the comment on your post (e.g., "Sent you the deets! 📬"). You can add up to 3 public reply variants. Optional, but it acknowledges the commenter right away.
- Click Continue.
Most agents set up one automation using a keyword like HOME or TOUR on All Posts. That way, no matter which listing post someone comments on, they automatically get the details for that specific property. You don't need a separate automation for every listing.
Step 2: Message
This is the DM your followers receive. It's structured as two messages that work together.
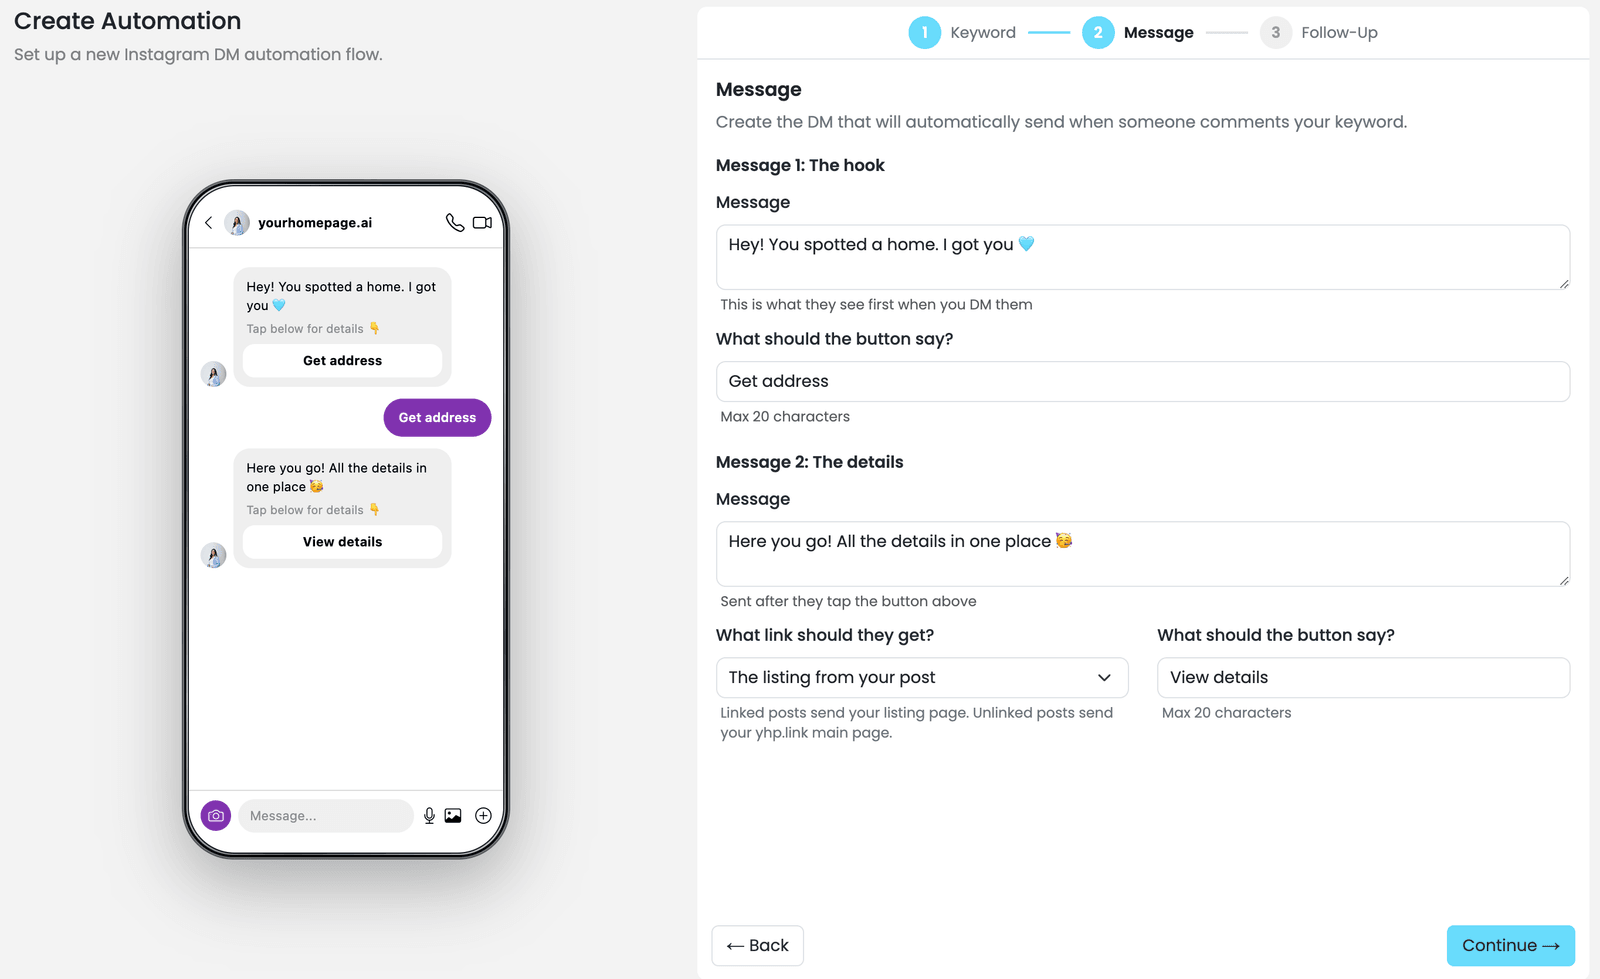
- Message 1 — The hook. Write the first thing they'll see. Add a button label (max 20 characters) for them to tap to get more details. Example: "Get address" or "View details."
- Message 2 — The details. Sends automatically after they tap the button in Message 1. Write what you want to share, then use the "What link should they get?" dropdown to choose:
- The listing from your post — sends the specific listing link with full home details.
- Your Contact page — sends the link to your contact page.
- Add a button label for Message 2 (max 20 characters).
- Click Continue.
Step 3: Follow-up (optional)
A follow-up message sends automatically if the person doesn't tap through right away.
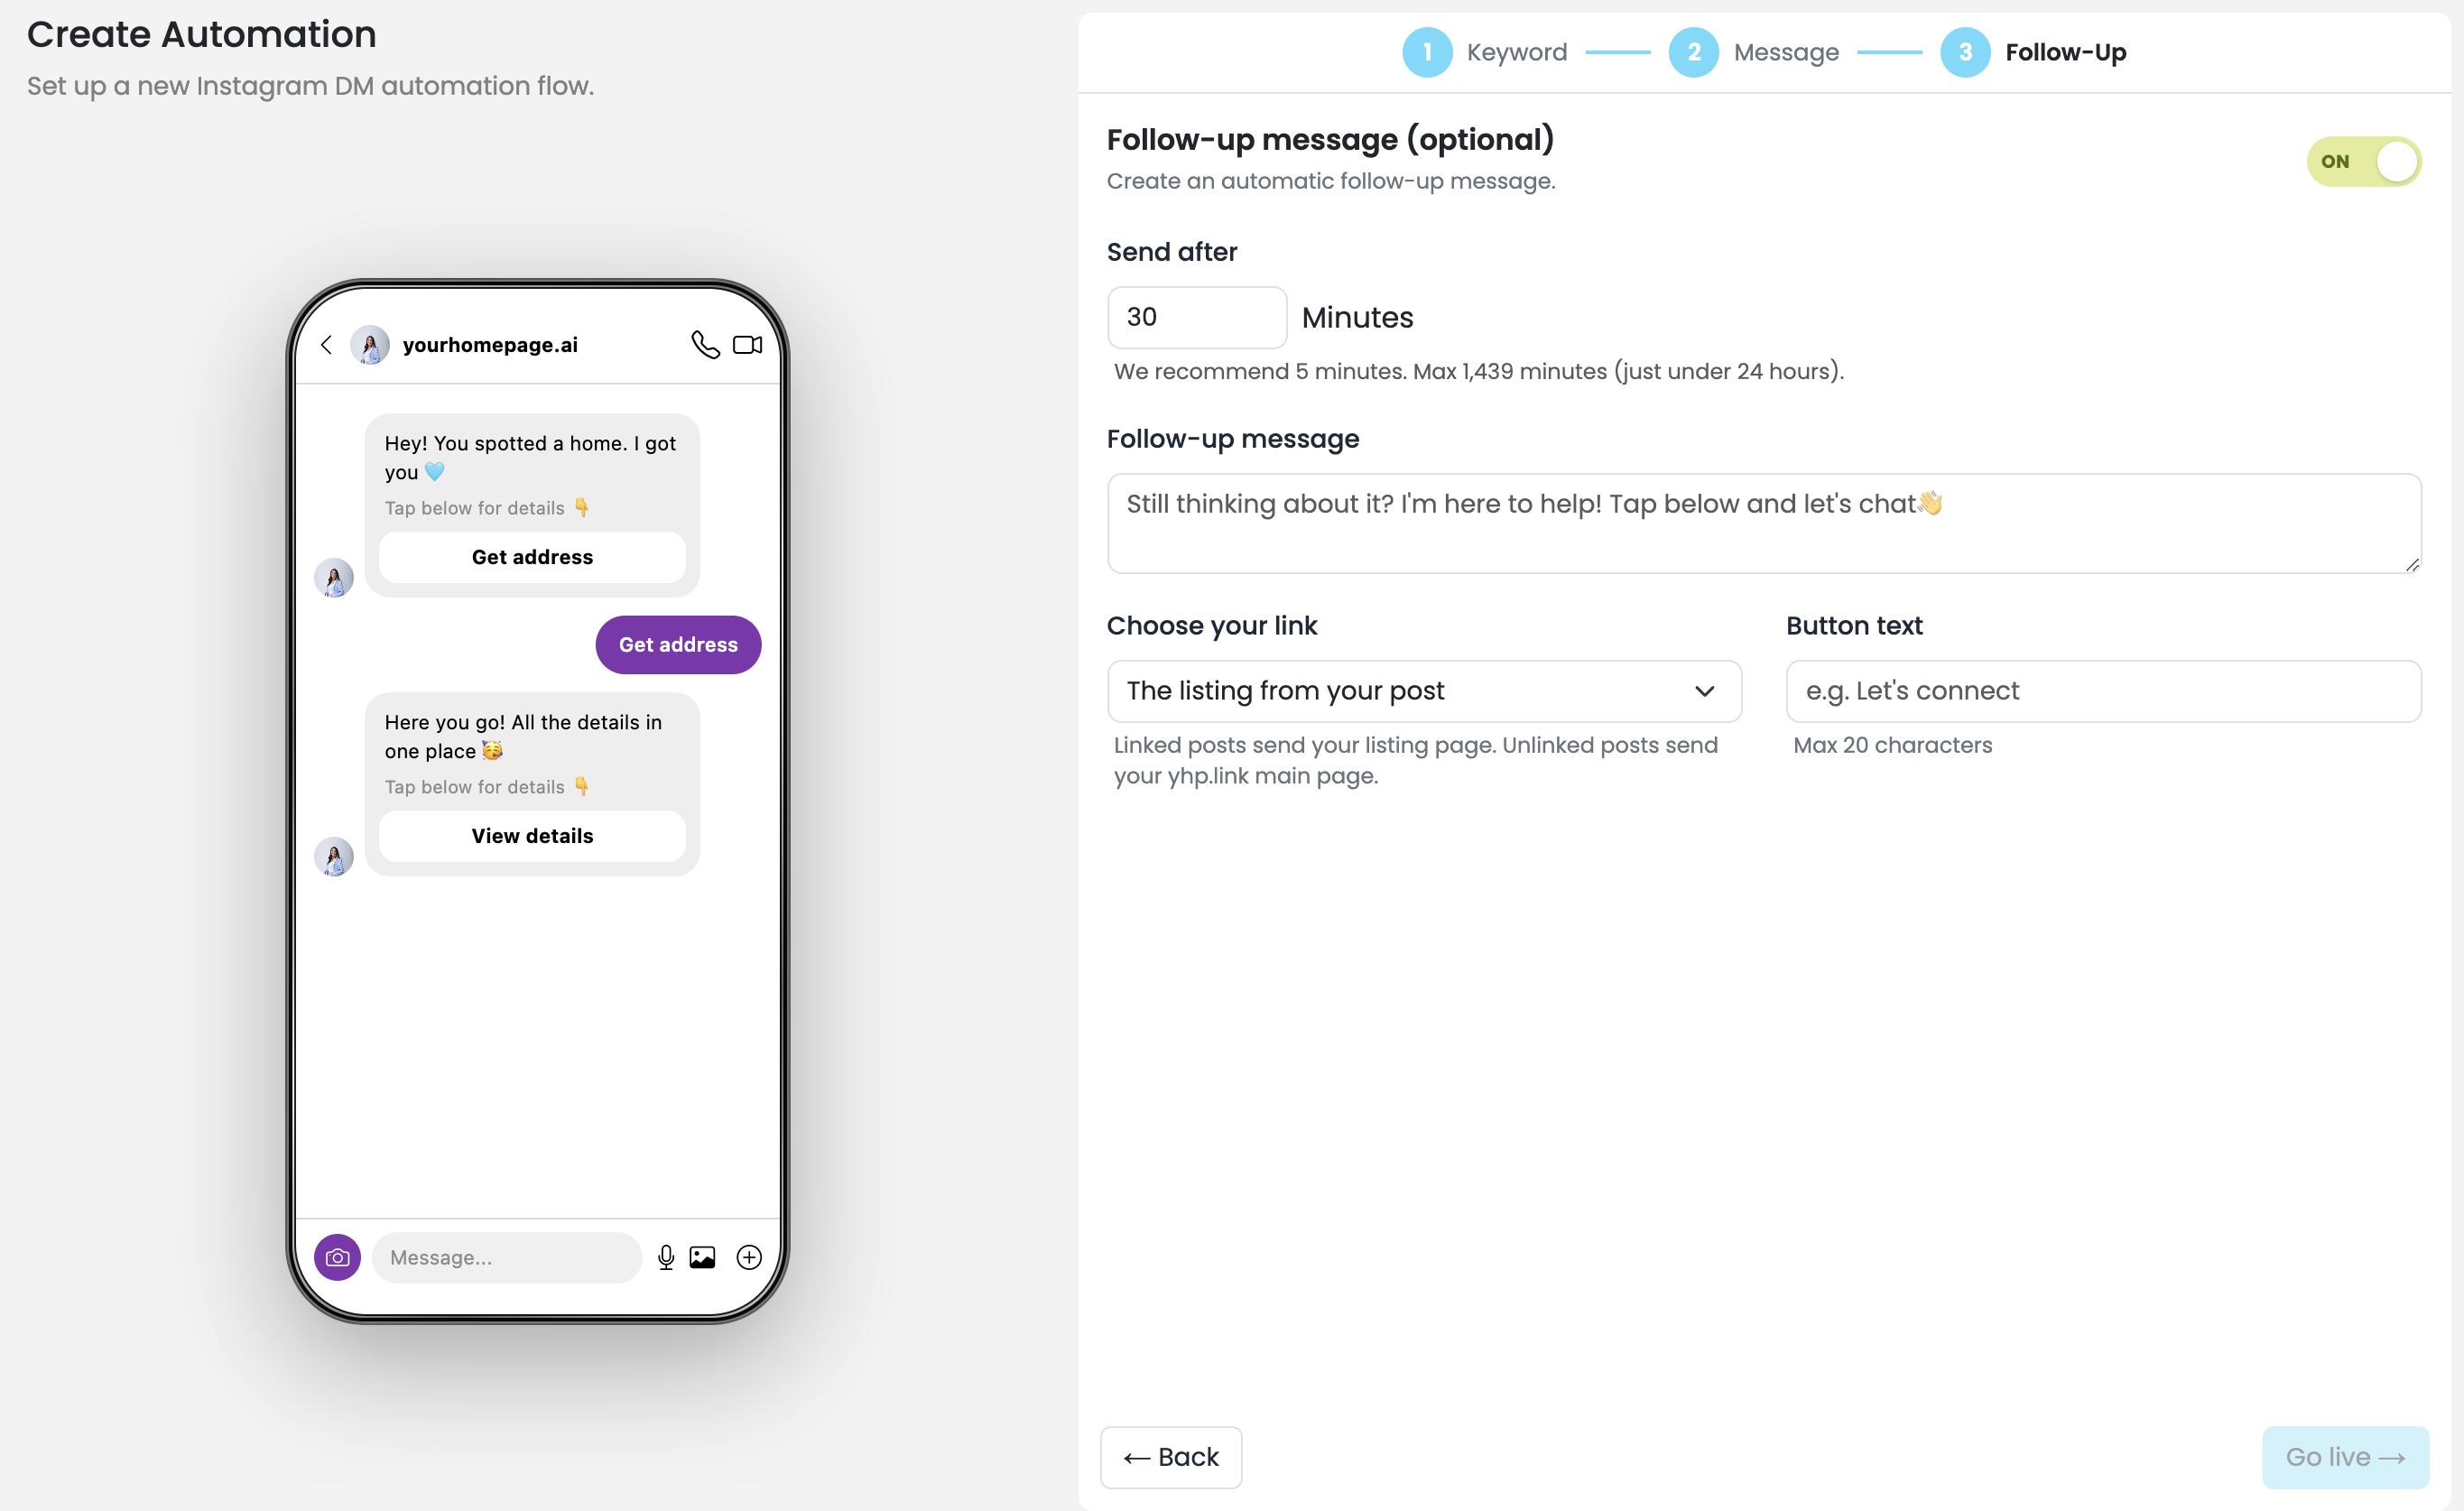
- Toggle the follow-up on.
- Set the Send after time in minutes. YHP recommends 5 minutes. Maximum is 1,439 minutes (just under 24 hours).
- Write your follow-up message and choose a link and button text, same as Step 2.
- Click Go live.
Your automation is now live. Anyone who comments your keyword will receive your DM automatically.
Keywords are not case-sensitive — tour, TOUR, and Tour all trigger the same automation. If you chose All Posts, the keyword also works retroactively on older posts.
Managing your automations
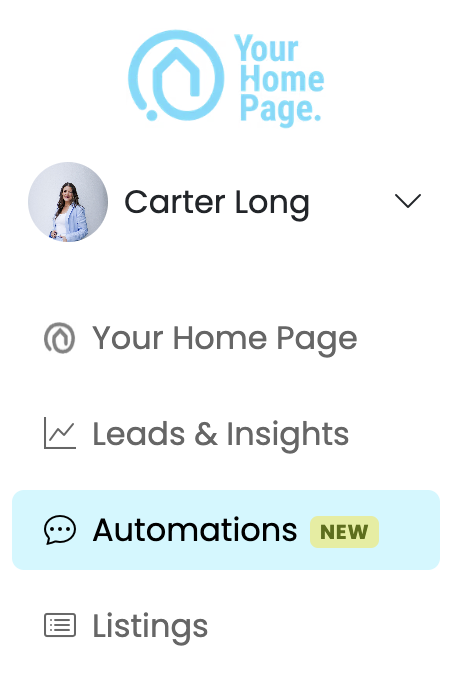
From your YHP dashboard, go to Automations in the left sidebar.
You'll see all your automations with their current status — Active or Paused.

Editing an automation
- Click Edit on the automation you want to change.
- Update the keyword, DM message, trigger type, or follow-up settings.
- Click Save.
Changes take effect immediately. You don't need to pause the automation to edit it.
Turning an automation off
Toggling an automation off stops it from firing without deleting it. Useful when you want to temporarily pause lead capture or update the copy later.
If an automation is connected to a listing that's no longer available, YHP will automatically share similar listings so you keep capturing leads.
To reactivate, toggle it back on.
Duplicating an automation
If you want to reuse an automation for a new post with similar content, duplicate it instead of starting from scratch.
- Find the automation and click the ⋯ menu.
- Click Duplicate.
- Update the name, keyword, and any post-specific details.
- Save to activate.
Deleting an automation
- Find the automation in your dashboard.
- Click the ⋯ menu and select Delete.
Deleted automations can't be recovered. If you think you might use it again, turn it off instead.
Viewing performance
Your automations dashboard shows performance data for each keyword in the main list.

For each automation you'll see:
- DMs Sent — how many times the automation has fired
- Clicks — how many people tapped a button inside the DM
- CTR — the percentage of recipients who clicked through
Use the Active / Inactive tabs to filter your list, or the search bar to find a specific keyword quickly.